Create a Free Popup Form in Shopify (Klaviyo Tutorial)

Popup forms are remarkable tools for fueling lead generation, growing email lists, driving blog subscriptions, and promoting content.
Naturally, business owners are leveraging them to achieve their sales and marketing goals.
In this tutorial, we will learn how to use Klaviyo to create a free Shopify popup form.
You can capture your visitor’s attention, increase signups, boost engagement, and promote special offers as soon as they land on your website using this Shopify popup.
How to Create a Shopify Popup Form for Free
Let’s get to it:
1. Connect Klaviyo To Your Shopify Store Dashboard
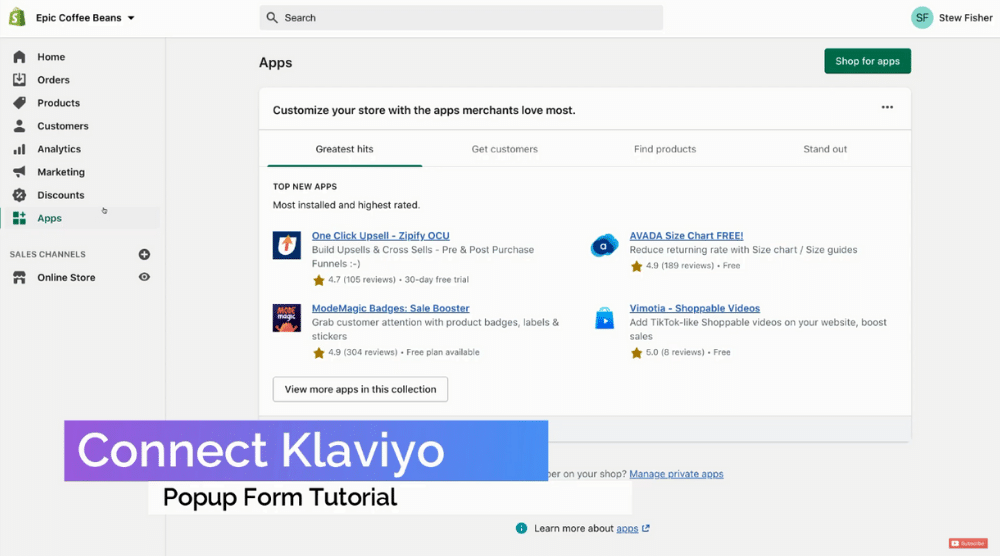 First, log in to your Shopify store dashboard.
Now, we need to connect Shopify with an application called Klaviyo. It’s an all-in-one email marketing service.
We will create a free Shopify popup form using Klaviyo after connecting it with Shopify.
Once logged in, navigate over to “Apps” on the left. Select “Shop for Apps” after that.
On the search bar, type in Klaviyo and then come down to locate the application.
Click “Add App” and then scroll down to select “Install app”.
In the following step, go ahead and create your account. For that, you can just enter your email, create a password, and then select “Continue with Integration”.
Based on the information you provided to Shopify, your brand information will be automatically generated.
You may change the details later if necessary. Just make sure you add the sender’s email address. Click “Continue”.
For this tutorial, you can skip the option to create the email templates.
Click Continue. After this step, you would need to verify the sender’s email address.
Watch Video: How To Use Klaviyo | Email Marketing Software for Shopify
2. Create a Popup Form Using Klaviyo Dashboard
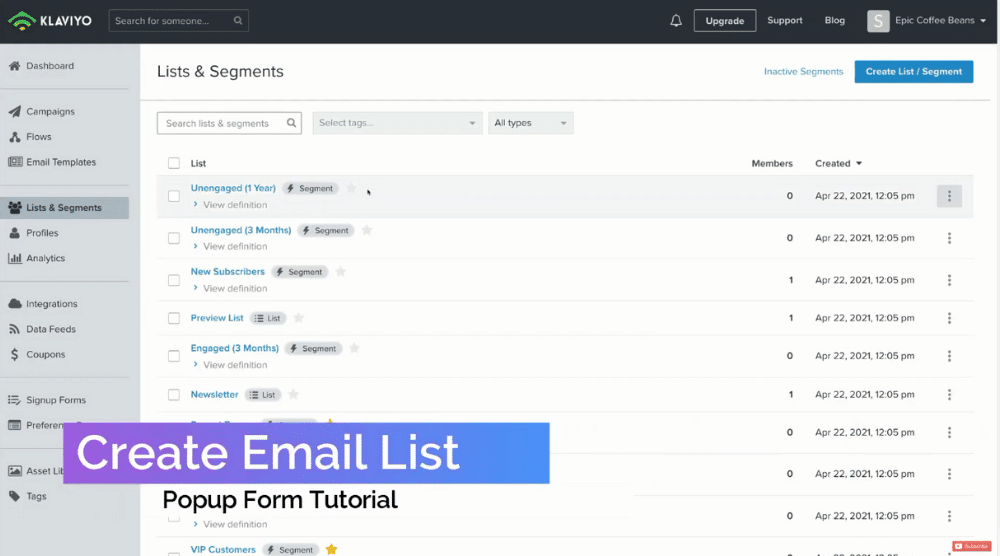 After confirming the email, you can access your Klaviyo dashboard.
In the “Lists & Segments” on your left, you need to select “Create List” and then “List”. In the following step, you need to type in the list name “Popup Subscribers”.
This list is going to be our subscribers that sign up to our Shopify popup that we are going to create with Klaviyo.
After selecting the “Create List” option, head over to the “Create a Signup Form” option and click on it.
Under Type, select popup.
Here, you can either build a Shopify popup with Klaviyo from scratch or select from the list of templates and customize it.
If you’re a beginner, we recommend opting for the second route.
Choose a premade template and name it “Popup”.
In the “Subscriber List” option, come down to “Popup Subscribers” and click on it. Finish up this step by selecting “Create Form”.
3. Customize The Shopify Popup Form
 In this step, we will learn how to customize the free Shopify popup form.
Klaviyo’s builder is straightforward and easy to use. You have access to several blocks here such as text, button, image, email input, text input, etc.
Thanks to its drag-and-drop feature, you can easily customize any template.
For instance, to add an image, simply drag and drop the “Image” element to your popup form – wherever you like. You can do this for any block.
On the far left, you can see all the block editing options. For instance, you can change the block style or choose an image click action. If a visitor clicks on the image, they can be sent to your product page.
However, we will leave this option blank.
Since we want to keep this Shopify popup form very simple, we are going to remove the image block we added before. We will also delete the section below the title.
To change a text element, you can just click on it and change it to “Get 20% Off”.
You can change the size to 48px from the formatting options above. Similarly, you can change the text on any button by just clicking on it.
For instance, click “Join the Club” and on the left, you can change the name to “Get My Discount”.
You can check out other formatting options for the button.
Eg, you can change Actions, List to Submit, and After Submit (change it to “Close Form”) option.
You can also head over to “Success Message” at the top of your dashboard. For this tutorial, we will remove the success message.
Now, come down and click on “Your Email” and change the label text to “Subscribe Now!”.
Leave the “Placeholder Text” as “Email Address”.
You can now head back and navigate over to “Styles”.
We now need to replace the background image by selecting “Replace” and then “Upload Image”.
Click on “Browse Files” and then upload the image you want to your Shopify popup form.
In the “Behaviors” tab and under “Display Timing”, you need to select “Loading delay”.
Under it, check the option “Show when a visitor is exiting the page”.
Hence, whenever a visitor approaches the close button on your website browser, this popup will appear.
Also, set the timer to 5 seconds for the second option “Show 5 seconds after page load”.
Then, as soon as a person lands on your website, the popup will appear exactly 5 seconds after. You can also check the third option which is “Show after scrolling 60% of the page”.
Moreover, you want to keep the “Don’t show again after submitting the form or go to URL action” checked.
Do change the “Show again” to 30 days once the visitor takes an action.
Under the “Devices”, you can choose where your free Shopify popup form will appear. It’s best to keep “Desktop and Mobile” selected.
Under “Targeting”, select the “Don’t show to existing Klaviyo profiles” option. It means that if a visitor has already signed up, this popup will not appear. Finally, you can hit “Publish” on the top right.
Your display will read:
“Signup forms are successfully installed on your site”. Click Publish.
4. Create Email Flow
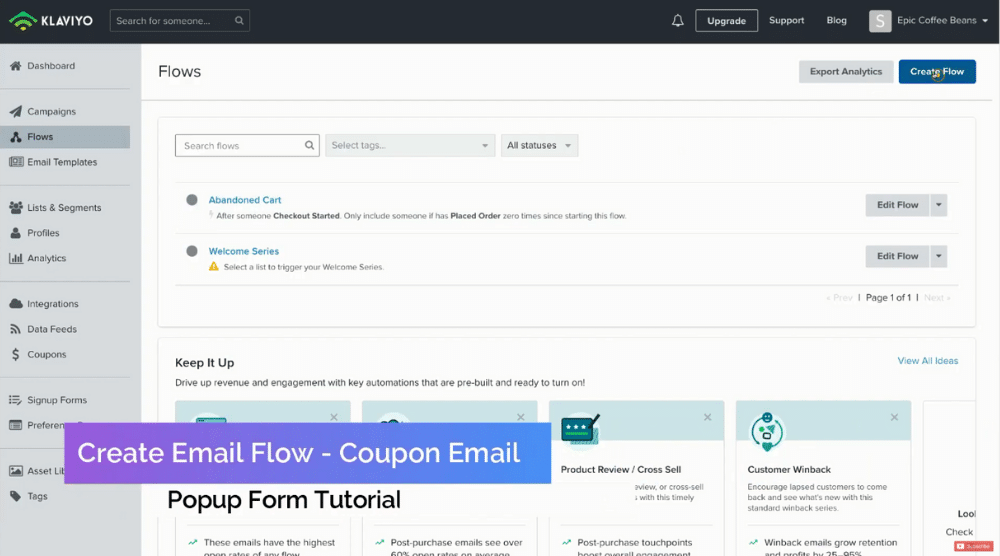 In this fourth step, you can head back to your Klaviyo dashboard and click on “Create Flow”.
Name the flow “Welcome Popup Subscriber” and select “Create Flow”. Now, we want to add a trigger for when people are added to the list.
You just need to choose your list for the Trigger from the drop-down.
What we want to do is send a welcome email offering a 20% discount code for new subscribers. Come down and click “Done”.
In the following step, drag and drop “Email” to the flow on the right. You can now edit this automated email by simply clicking on “Edit”.
Change the default subject line to “Here’s Your 20% Discount Code”.
Add preview text if you like and then hit “Save changes”.
In the next step, you need to select a premade email template.
Select “Basic” and then “1 Column”. To build your new welcome email, you now have plenty of drag-and-drop blocks to add including Button, Social Links, Split, Drop Shadow, etc.
Go ahead and upload an image, edit the text to “Welcome to EPIC Coffee Beans”. Add the promo code below that says “20% OFF PROMO CODE: GETMYCOFFEE1”
You can also change the color, alignment, and other formatting options of the text. Also, you can play around with different Blocks, Styles, and Elements. Once you’re happy with your email details, click on “Save Content” on the top right.
Now, select “Draft” and then “Live” and finally exit. At last, click “Save & Exit”.
This email would be automatically sent to your subscribers once they submit your free Shopify popup form.
Also Read: Popup Form in WordPress
.png)


Comments
Post a Comment